
The 2013 SMASH! Sydney Manga and Anime Show featured multiple panels and workshops, with topics such as Cosplay Life Drawing and Improving Your Drawing, to How to Produce Manga and 3D Illustration – the latter of which will be detailed in this article.
Paul Caggegi was the special guest and host of this particular panel. Paul has been a freelance motion graphics designer for over a decade. He has also worked as a media demonstrator, video editor, and in-house designer for a number of boutique studios. He begun his own podcast, The Process Diary, in 2007, where he interviews local filmmakers, artists and writers about their work and process. In 2010, he released the first issue of his sci-fi action/adventure web comic Pandeia, four issues of which are currently available in print, as eBooks or through Comixology.
Paul takes advantage of the free software Blender for its rendering capabilities in order transform 3D objects into 2D-looking illustrations. Modelling, UV Mapping, Texturing, Rigging and more can be done using this piece of software, as an alternative to Maya, which is a paid software. It is fully featured and easy to get into, especially if you follow Paul’s advice and take a look at the resource site Blender Cookie. He stated that he prefers creating an object in 3D as opposed to drawing it, because he can reuse that asset for different shots instead of having to redraw it for every new scene. The same can be said for camera angles, as another camera can simply be dropped into your scene.
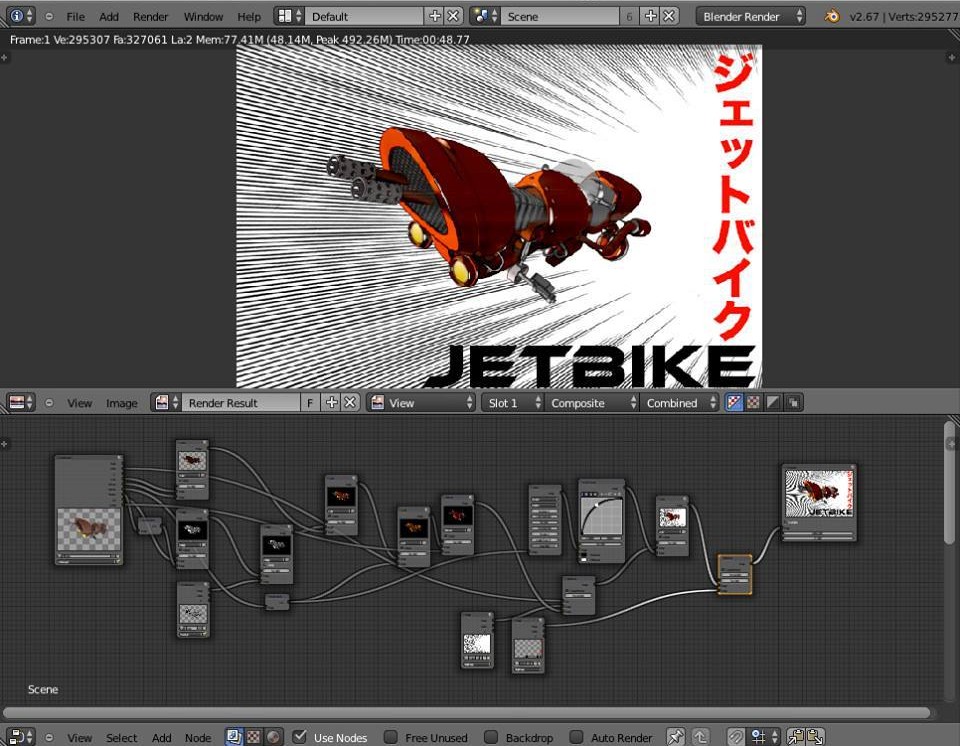
Paul went on to compare the layers of Photoshop to the nodes of Blender, stating the major con of the former being that everything underneath the top layer is affected by it, while in a nodal system, it’s much easier to bring every element in as a separate effect and choose how to apply them for the final render without hassle. And in terms of lighting, Paul finds it simpler too; necessary in most cases to only have one spotlight alongside your fill light, which can of course be rearranged on the fly.
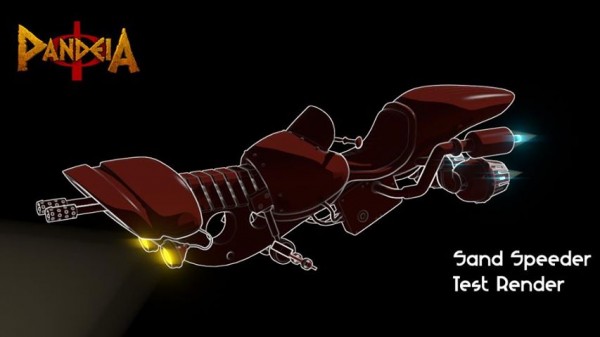
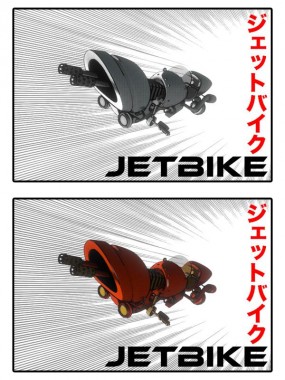
Moving on to the rendering, Paul explained how he gets his 3D work to adopt a Manga/Comic book visual by having diffuse and specular values set to Toon, which is a high-contrast shader that takes your light information and efficiently splits it to acquire the desired effect. Stuff that can be difficult to draw by hand, such as glass, can be “cheated”, as Paul put it, by messing with the material’s properties and transparency settings. Another pro is that highlights and shadows can be easily adjusted to your liking with the click of a button.
Paul gave us a great look at his process in the panel. It’s unfortunate, being more of a visual demonstration, that we can’t do justice to it by trying to describe it all as the above is just a basic look at what’s possible with Blender. But, for more of Paul’s work and our SMASH! 2013 coverage, click through the links at the top of this article (contact him with any queries, we’re sure he’d be happy to answer them). If you’d like to try out the software for yourself, please visit the official Blender website.