

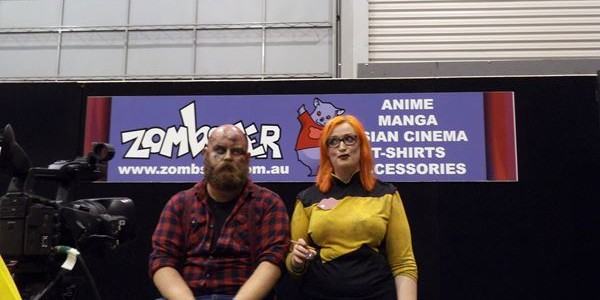
Today at the Supanova Sydney expo, I had the pleasure of meeting Emma-lee Court from The Makeup Wardrobe for the Zombie Transformation Tutorial. The talented makeup artist outlined the essential tools and method for making the perfect zombie, with the help of her bearded model.
Requirements:
- Modelling putty/Mortician’s wax
- Flexible wax sealer
- Steel spatula
- Cream-based makeup palette (avoid watercolours)
- Makeup brushes (flat and round)
- Artificial blood and venous blood (for spatter effect use spray bottle)
- Crazy eye contact lenses (caution advised)
Steps:
- It is important to choose a hard and stable surface (e.g. forehead) for creating fresh wounds.
- Place putty on the chosen surface and form an oval-shape, spread the outer layers with spatula and apply flexible wax sealer.
- Mix blue, red and purple colours to paint around the wound, leaving some skin visible for a more realistic look.
- Add artificial and venous blood to the inner layers of the wound, be weary of the direction the blood will flow.
- Remember not to isolate the wound; make use of the entire canvas for more effective results.
- Mix green, yellow and brown to form a dirty avocado colour for the dead skin on the face.
- Using black and red colours, trace contours of the face with the makeup brush. Ask the model to hold an angry face to make the indents clearer and process easier.
- If you want to add veins, use blue and black colours to paint small squiggles on the face and cover with blood. Highlight the veins with white for a popping effect.
Don’t let the zombies scare you away from the final day of Supanova 2014 tomorrow at the Dome, Sydney Olympic Park!